
728x90
1. 이번 강의 목표
이번 강의에서는 다음을 구현합니다.
- images/player.png, images/enemy.png, images/bullet.png 로드
- 스프라이트 크기 조정(확대/축소)
- 화면 출력 방식을 draw.rect() → blit()로 변경
- 충돌 처리를 Rect 기반으로 유지(이미지로 바뀌어도 동일하게 동작)
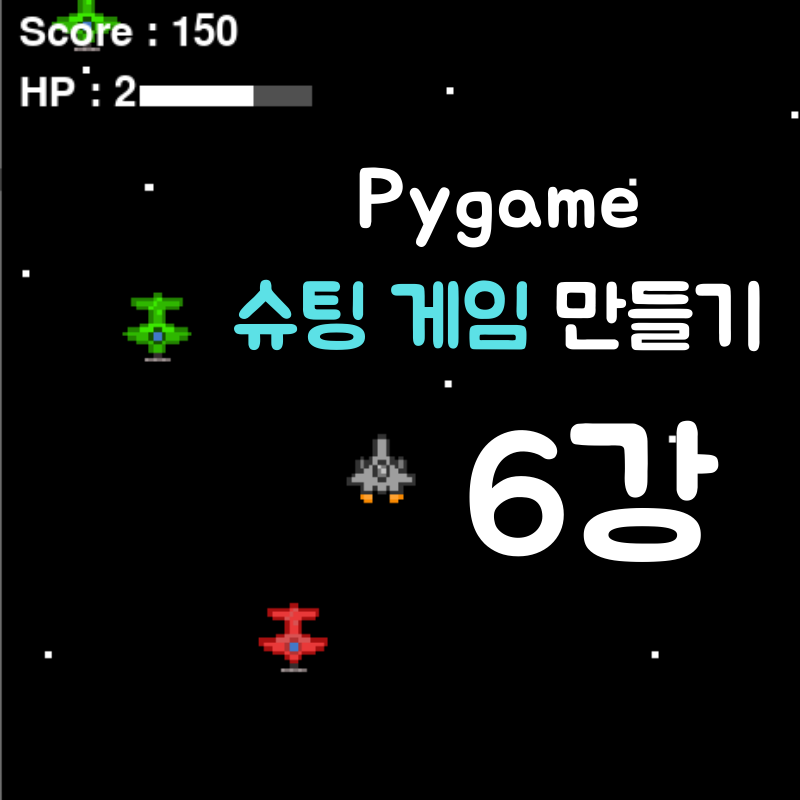
이번 강의부터는 화면이 “진짜 게임”처럼 보이기 시작합니다.
2. 준비물: 이미지 파일과 폴더 구조
아래 폴더 구조로 준비합니다.
shooting_game
 ├─ main.py
 └─ images
     ├─ player.png   (원본 16x16 권장)
     ├─ enemy.png    (원본 16x16 권장)
     └─ bullet.png   (원본 4x8 권장)
 └─ sounds
파일명이 다르면 코드가 그대로 동작하지 않으므로 이름을 정확히 맞춥니다.
3. 스프라이트 로드 기본
Pygame에서 이미지는 다음처럼 불러옵니다.
player_img = pygame.image.load("images/player.png").convert_alpha()convert_alpha()는 PNG 투명 배경을 정상 처리하기 위해 사용합니다.
4. 스프라이트 크기 설계
이번 강의에서는 다음 크기로 고정합니다.
- 플레이어: 40x40
- 적: 40x40
- 총알: 6x16
원본이 16x16이라도, 게임 화면에서는 보기 좋게 확대하여 사용합니다.
player_img = pygame.transform.scale(player_img, (40, 40))
enemy_img  = pygame.transform.scale(enemy_img, (40, 40))
bullet_img = pygame.transform.scale(bullet_img, (6, 16))
5. Rect는 “위치/충돌 담당”으로 계속 유지합니다
이미지는 “그리는 용도”이고, 실제 위치와 충돌은 Rect로 관리하는 것이 가장 깔끔합니다.
- player_rect : 플레이어의 위치
- bullet_rect : 총알 위치
- enemy_rect : 적 위치
Rect는 이동/충돌/화면 제한을 담당합니다.
6. 플레이어: Rect 기반 이동으로 변경
이전 강의에서는 player_x, player_y로 이동했지만
스프라이트를 적용하면서 player_rect.x, player_rect.y로 이동하는 방식이 더 깔끔합니다.
if keys[pygame.K_w]:
    player_rect.y -= player_speed
7. 총알/적도 Rect 리스트로 관리합니다
- 총알: bullets 리스트에 Rect 저장
- 적: enemies 리스트에 Rect 저장
이러면 충돌 처리가 매우 간단해집니다.
bullets.append(bullet_rect)
enemies.append(enemy_rect)
8. 그리기: blit 사용
사각형 대신 이미지를 출력합니다.
screen.blit(player_img, player_rect)총알과 적도 동일합니다.
screen.blit(bullet_img, bullet_rect)
screen.blit(enemy_img, enemy_rect)
9. 마무리
이번 강의에서는 다음을 적용했습니다.
- 사각형(Rect) 출력 → PNG 스프라이트 출력
- 이미지 로드와 크기 조정
- 위치/충돌은 Rect로 통일하여 코드 구조를 더 깔끔하게 정리
이제부터는 게임이 “완성품” 느낌으로 빠르게 올라갑니다.
전체 코드
더보기
import pygame
import sys
import random

pygame.init()

# 화면 설정
SCREEN_WIDTH = 480
SCREEN_HEIGHT = 640
screen = pygame.display.set_mode((SCREEN_WIDTH, SCREEN_HEIGHT))
pygame.display.set_caption("Shooting Game")

# FPS 설정
clock = pygame.time.Clock()
FPS = 60

# ===== 스프라이트 로드 =====
player_img = pygame.image.load("images/player.png").convert_alpha()
enemy_img = pygame.image.load("images/enemy.png").convert_alpha()
bullet_img = pygame.image.load("images/bullet.png").convert_alpha()

# ===== 스프라이트 크기 조정 =====
PLAYER_SIZE = (40, 40)
ENEMY_SIZE = (40, 40)
BULLET_SIZE = (6, 16)

player_img = pygame.transform.scale(player_img, PLAYER_SIZE)
enemy_img = pygame.transform.scale(enemy_img, ENEMY_SIZE)
bullet_img = pygame.transform.scale(bullet_img, BULLET_SIZE)

# 플레이어 설정 (Rect로 위치/충돌 관리)
player_speed = 5
player_rect = player_img.get_rect()
player_rect.centerx = SCREEN_WIDTH // 2
player_rect.bottom = SCREEN_HEIGHT - 20

# 총알 설정 (Rect 리스트)
bullet_speed = 8
bullets = []

# 적 설정 (Rect 리스트)
enemy_speed = 3
enemies = []

enemy_spawn_delay = 60
enemy_timer = 0

# 게임 루프
running = True
while running:
    for event in pygame.event.get():
        if event.type == pygame.QUIT:
            running = False

    keys = pygame.key.get_pressed()

    # ===== 플레이어 이동 =====
    if keys[pygame.K_w]:
        player_rect.y -= player_speed
    if keys[pygame.K_s]:
        player_rect.y += player_speed
    if keys[pygame.K_a]:
        player_rect.x -= player_speed
    if keys[pygame.K_d]:
        player_rect.x += player_speed

    # 화면 밖 제한
    if player_rect.left < 0:
        player_rect.left = 0
    if player_rect.right > SCREEN_WIDTH:
        player_rect.right = SCREEN_WIDTH
    if player_rect.top < 0:
        player_rect.top = 0
    if player_rect.bottom > SCREEN_HEIGHT:
        player_rect.bottom = SCREEN_HEIGHT

    # ===== 총알 발사 =====
    if keys[pygame.K_SPACE]:
        bullet_rect = bullet_img.get_rect()
        bullet_rect.centerx = player_rect.centerx
        bullet_rect.bottom = player_rect.top
        bullets.append(bullet_rect)

    # 총알 이동
    for b in bullets:
        b.y -= bullet_speed

    # 총알 제거
    for b in bullets[:]:
        if b.bottom < 0:
            bullets.remove(b)

    # ===== 적 생성 =====
    enemy_timer += 1
    if enemy_timer >= enemy_spawn_delay:
        enemy_timer = 0
        enemy_rect = enemy_img.get_rect()
        enemy_rect.x = random.randint(0, SCREEN_WIDTH - enemy_rect.width)
        enemy_rect.y = -enemy_rect.height
        enemies.append(enemy_rect)

    # 적 이동
    for e in enemies:
        e.y += enemy_speed

    # 적 제거
    for e in enemies[:]:
        if e.top > SCREEN_HEIGHT:
            enemies.remove(e)

    # ===== 충돌 처리 (총알 vs 적) =====
    for b in bullets[:]:
        for e in enemies[:]:
            if b.colliderect(e):
                if b in bullets:
                    bullets.remove(b)
                if e in enemies:
                    enemies.remove(e)
                break

    # ===== 화면 그리기 =====
    screen.fill((0, 0, 0))

    # 플레이어
    screen.blit(player_img, player_rect)

    # 총알
    for b in bullets:
        screen.blit(bullet_img, b)

    # 적
    for e in enemies:
        screen.blit(enemy_img, e)

    pygame.display.update()
    clock.tick(FPS)

pygame.quit()
sys.exit()- 본 강의에서 사용한 이미지는 이해를 돕기 위해 함께 공유합니다.
- 직접 사용해도 좋고, 연습용으로 자유롭게 수정해도 됩니다.
728x90
'⚙️ Python > 🎮 Pygame 실전' 카테고리의 다른 글
| [Pygame] ✈️ 전투기 슈팅 게임 만들기 8강 | 점수 UI 표시하기 (0) | 2026.01.18 |
|---|---|
| [Pygame] ✈️ 전투기 슈팅 게임 만들기 7강 | 연사 제한(발사 쿨타임) 만들기 (0) | 2026.01.17 |
| [Pygame] ✈️ 전투기 슈팅 게임 만들기 5강 | 총알과 적 전투기 충돌 처리 (0) | 2026.01.15 |
| [Pygame] ✈️ 전투기 슈팅 게임 만들기 4강 | 적 전투기 생성 및 움직임 구현 (0) | 2026.01.14 |
| [Pygame] ✈️ 전투기 슈팅 게임 만들기 3강 | 스페이스바로 총알 발사하기 (0) | 2026.01.13 |